

How to Set Up Webcam and Microphone for Video Chat
A poor setup does more damage to your first impression than anything you say. Bad lighting flattens your face, a blocked microphone turns speech into muffled noise, and a denied browser permission stops the call before it even starts. Getting your webcam and microphone configured correctly takes under five minutes and makes an immediate, visible difference to the experience on both sides of every video call you make from that point forward.

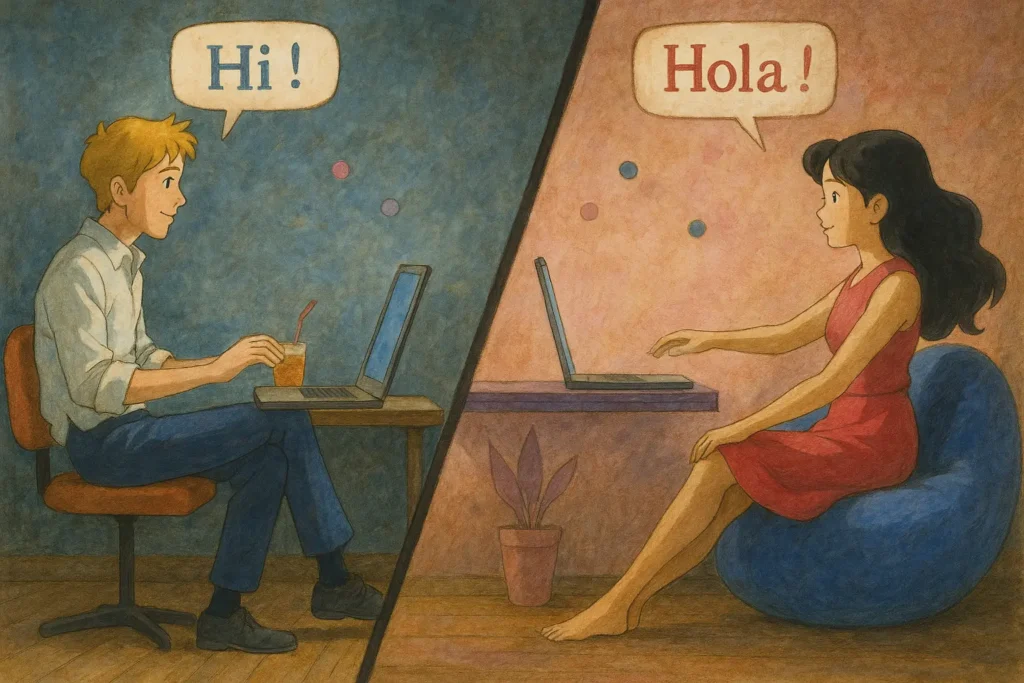
Everything You Need to Know Before Your First Call Goes Live
Knowing how to set up webcam and microphone for video chat correctly comes down to a few practical principles that apply to every device and platform. The webcam captures what is in front of it — so positioning, lighting, and camera height determine what the other person sees the moment you connect. The microphone captures what is around it — so background noise and distance from your mouth determine how clearly you come across. Most common setup problems are solved by repositioning rather than buying anything new.
The first thing to address when learning how to set up webcam and microphone for video chat is browser permissions. When a platform first requests camera and microphone access, you must click Allow. If you accidentally dismissed that prompt or clicked Block, the platform loads normally but your devices remain invisible to the other person. Fix it by navigating to the site settings in your browser address bar, setting both camera and microphone to Allow for that domain, and reloading the page. The fix takes under thirty seconds.
Beyond permissions, how to set up webcam and microphone for video chat depends on three environmental factors. Lighting matters most — a light source behind you creates a silhouette, while one in front illuminates your face evenly. Camera height is second — a lens below eye level produces an unflattering upward angle, while one at or slightly above eye level creates a natural, composed frame. Microphone distance is third — speaking too far from your mic in a reflective room produces echoey audio that is noticeably harder to follow.
The Right Fix Takes Seconds Not Money
Almost every problem that comes up when learning how to set up webcam and microphone for video chat has a physical solution that requires repositioning rather than replacing hardware. Moving your chair to face a different direction, raising your laptop on a stack of books, or closing a door to reduce background noise are the kinds of interventions that immediately improve call quality on any device. These adjustments take under a minute, require nothing additional, and produce results that are immediately visible in your own camera preview before the call even starts.

Professional-Looking Call
Knowing how to set up webcam and microphone for video chat properly reduces to four specific actions that together produce a noticeably better call experience from the first second the video loads on the other person’s screen.
Position Your Light Source
Place your primary light source — a window, desk lamp, or ring light — directly in front of you at roughly face height before starting any video call. This single adjustment does more to improve how you appear on webcam than any camera upgrade, filter, or background setting available on any platform. A face evenly lit from the front reads as sharp, present, and engaged. A face lit from behind reads as a dark shape that the other person will strain to interpret throughout the entire conversation.
Raise Your Camera to Eye Level
A camera positioned below eye level — the default position when a laptop sits flat on a desk — produces an upward angle that is unflattering on almost every face and creates the impression of someone looking down at the conversation rather than into it. Raising your laptop, monitor, or phone so the camera sits at or marginally above your eye line takes thirty seconds and immediately produces a neutral, natural framing that communicates confidence and attentiveness without any deliberate effort
Grant Browser Permissions
When the browser first requests webcam and microphone access for a video chat platform, selecting Allow is required for the call to function. If you previously denied access or dismissed the prompt, navigate to the platform's site settings in your browser address bar, reset both camera and microphone to Allow, then reload the page. On mobile, permissions are managed in the device Settings app under the browser application rather than within the browser itself — the process takes under thirty seconds once you know where to look.
Reduce Background Audio First
Before starting a video call, close windows if there is street noise nearby, move away from appliances that produce constant background hum, and ask others in your space to reduce noise during the session. Most built-in microphones pick up everything within a two to three metre radius, and constant background audio competes with your voice in ways that make it tiring and difficult to follow. A quiet environment is the single most effective microphone upgrade available to any user regardless of what hardware they are working with.
Frequently Asked Questions
When learning how to set up webcam and microphone for video chat, a webcam that is physically connected but not detected by the platform is almost always a browser permission issue rather than a hardware fault. The platform cannot access a connected device until the browser has granted permission to do so. Check your browser’s site settings for the platform’s domain, confirm that camera access is set to Allow rather than Block or Ask, then reload the page. If the camera was in use by another application — a video conferencing app, a streaming tool, or a background process — closing those applications frees the camera for exclusive browser access.
Built-in laptop microphones are functional for video chat when used correctly. Position yourself so your mouth is no more than forty centimetres from the laptop body, reduce background noise in your environment, and avoid covering the microphone grille — which is typically located along the top bezel near the camera or along the keyboard deck depending on the model. Speaking at a normal conversational volume rather than projecting or whispering produces the clearest capture. Built-in mics handle standard conversation well; they struggle primarily in noisy environments or when the user is positioned too far away from the device.
A dark camera preview almost always indicates that the primary light source in your environment is behind you rather than in front of you. The camera automatically exposes for the brightest area in the frame — which is the background — leaving your face underexposed. Move to face a window or lamp directly, or reposition the light source so it illuminates your face from the front. If moving the light source is not practical, increasing the overall ambient light in the room by turning on ceiling lights and closing strong backlit windows reduces the exposure imbalance sufficiently to produce an acceptable image on most built-in cameras.
Most operating systems include a built-in camera test accessible through the Settings application — on Windows through the Camera app, on macOS through the Photo Booth application, and on smartphones through the front-facing camera in the standard camera app. For microphone testing, the sound settings panel on both Windows and macOS displays a live input level bar that moves when you speak, confirming the microphone is active and picking up audio. Some video chat platforms also include a pre-call test page that checks both devices simultaneously before connecting you to a live match — using this when available is the most reliable method.
Yes. Wireless earbuds with a built-in microphone — such as AirPods or most current-generation Bluetooth earbuds — work reliably as a microphone input for video chat when properly connected and selected as the audio input device in your system settings. They typically produce cleaner audio than a built-in laptop microphone because the microphone element sits closer to your mouth and picks up less ambient room noise. Confirm they are set as the active input device in your operating system’s sound settings before opening the video chat platform, since the platform inherits whichever input device the system has designated as the current default.
Echo in a video call is typically caused by one of two things. The first is audio feedback — your microphone is picking up the sound coming from your speakers and sending it back through the call. Using headphones or earphones instead of open speakers eliminates this entirely. The second cause is room acoustics — a room with hard floors, bare walls, and minimal soft furnishings reflects sound in ways that create a perceptible echo even without feedback. Calling from a room with carpet, curtains, or upholstered furniture significantly reduces this reflective quality and produces cleaner audio for anyone listening on the other end.
The quality of your webcam matters less than the conditions in which it is used. A budget webcam in good lighting with the camera positioned at eye level will produce a more watchable image than a high-end webcam used in poor lighting with an unflattering angle. This is the most counterintuitive aspect of how to set up webcam and microphone for video chat — environmental factors consistently outweigh hardware quality in determining the final output. Invest time in lighting and positioning before considering a camera upgrade, because the environmental adjustments are free and frequently produce more visible improvement than spending money on new equipment would.
On iOS, open Settings, scroll to the browser application you are using for the video chat, and confirm that Camera and Microphone are both toggled on under that app’s permissions. On Android, open Settings, navigate to Apps, find your browser, select Permissions, and confirm both Camera and Microphone are set to Allow. If you are using a dedicated video chat app rather than a browser, the same permission management applies to the app itself rather than the browser. After changing permissions, return to the video chat platform and reload the page or restart the app for the new settings to take effect.
The ideal camera position when setting up webcam and microphone for video chat places the lens at eye level or marginally above it, with the frame showing your face and upper chest rather than cropping tightly at the chin or showing an excessive amount of empty room above your head. Looking directly into the camera lens rather than at the other person’s image on your screen creates the perception of direct eye contact for the person watching you — a small adjustment that significantly improves how engaged and present you appear throughout the duration of the call.
The physical setup — lighting, camera position, microphone distance — is identical regardless of which platform you use. What changes between platforms is the browser permission grant, which applies per domain rather than globally. If you have granted access to one video chat site, you will need to grant it separately when visiting a different platform for the first time. Most browsers remember the decision you made for each domain and do not prompt again on subsequent visits. If you use multiple browsers — Chrome and Safari, for example — the permission you granted in one does not carry over to the other and must be granted independently for each browser you use to access video chat.